Last night we came back from a family event hungry. I made Kale chips which are always a big hit. When possible use flat kale verses curly kale -it’s so much easier to coat with oil and doesn’t seem to burn as much. Get the kids involved from the first step, from planting the kale, watering, harvesting and lending a hand for the steps in getting it ready to eat below.
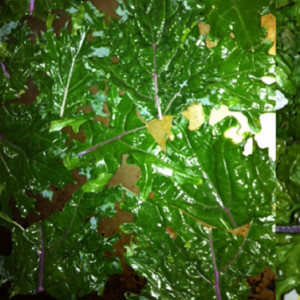
- Wash kale – we used fresh velvet like kale that’s green and purple from our garden.
- Preheat oven to 250 degrees. Wash and thoroughly dry. Flat kale dries easier and quicker than curly kale. It’s essential to have completely dry kale before you bake -if you have to use curly kale, use a salad spinner to dry. You can always buy prewashed kale at the grocers. Trader Joe’s carries it – it’s curly but it still works.
- Pour a small amount of organic canola, grape seed oil or olive oil in a bowl.
- Dip your fingers in and then rub the oil into the kale leaves very lightly coating the entire back and front.
- Put torn medium size pieces of kale on a baking sheet making sure they don’t touch. Place on top top or medium rack.
- Bake for 5-7 minutes checking to make sure tips are NOT browning. Chips should come out crisp (especially if you dried the kale completely).
- Add a dash of salt and enjoy! Always a hit.
- My final picture doesn’t do it justice -they looked so crispy in person and were delicious.
Read more about why kale should be eaten at least once a week why it’s in season!